Cookies
are a simple treat to prepare in advance, consume, share, preserve, send, and
freeze. Additionally, cookies may be baked in large quantities for food drives,
festivals, etc., and are mobile, great for gifts.
Have
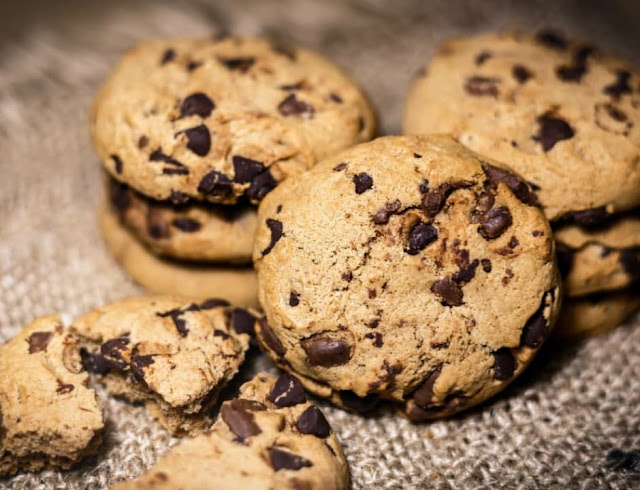
you ever searched "gourmet cookies near me" on Google? If not, do it now and look at the
results page images. Aren't they mesmerizing? Did you notice how freshly baked
those cookies look?
What
if we say you can bake such beautiful, fresh and tasty cookies, too?
Here
are some tips for baking cookies that are Instagram-feed-worthy!
1
- Start organizing! Your deadliest enemy is a mess
If
the countertop is a jumble, the container of vanilla essence is misplaced, and
there is nowhere to set the roasting rack down, you cannot bake.
Before
you start, tidy up your workspace and gather all the supplies. As you use each
one, place it away so you won't lose track of what you've done with it. As you
proceed, cleanse dishes and serving pieces.
2
- Before beginning, thoroughly read the instructions
Check
your stock of essentials (flour, sugar, etc.) while you read, and keep an eye
out for any unfamiliar materials, procedures, or tools that might confuse you.
It
would help if you understood this before you begin, for instance, whether the
dough needs to cool for twelve hours in case you need to have the biscuits by
lunchtime today.
3
- Demand high-quality, natural produce
Herbs
lose flavor over time, so if you've had any on hand since July last year,
replace them. If you can get locally produced eggs, use them. Unflavored or
sweet butter is preferred to salty because it tastes better, is richer, and is
frequently healthier. However, salty butter may be stored longer than almond
butter because salt works as a preserver.
4
- Cool down the roasted nuts
Assure
the nuts are completely chilled before mixing them into the crust when a dish
specifies toasting them for eight to ten minutes at 350°F. Heated nuts might
melt butter and significantly alter the consistency of your baked goods, but
not in a good way.
5
- Purchase a few sturdy baking trays for yourself if you don't already have
some
Thin,
fragile sheets might cause burnt cookie bottoms because they don't evenly or
effectively spread heat. Two excellent material options are polished aluminum
and galvanized steel. Although neither is cheap, they are both durable. You may
buy them from specialty baking stores.
While
there, spend money on a sturdy cooling rack made of stainless steel that can
accommodate two to three dozen cookies. Allowing your cookies to cool directly
on the hot pans might produce mushy cookies and excessive browning on the
edges.
6
- Known baking time? Who cares?
When
we make cookies, we find ourselves guilty of never reading the instructions. We
instead focus on the actual cookies. We use standard baking methods. That is
because every oven is special. Perhaps the recipe writer used a regular oven;
you used a convection oven.
As
a general guideline, lower the oven temperature by 25°F if you use a convection
oven.
Always
rely on your gut feeling. When the sides of the biscuits are firm and a little
toasted, they are finished. If you like softer cookies, the top centers may
appear somewhat underbaked. Heat the batch of cookies a little longer until the
centers seem "done" for crunchy cookies (same as those you saw on the
internet after searching for gourmet
cookies near me!).
7
- Each batch separately
We
advise making a single batch of biscuits on the middle rack if you have the
capacity and time. What for? You have the best outcome whenever the oven solely
focuses on one load. The baking pans should be switched from the top shelf to
the bottom rack after the baking process has reached midway if you must bake
over one unit at a time for an occasion, the festive period, etc. Heat waves
exist in ovens!
8
- Typically, cookies should cool on the sheet pan for one to two minutes
Just
long enough to harden them up and make it easier to remove them from the sheets
and place them on a tray.
9
- And now for a packing hint! Many cookies travel nicely: But for optimal
results, pack somewhat hard or dense cookies.
Cookies
should be individually packaged on parchment paper and packed tightly in a
container. The tin should be placed into a larger box padded on all sides with
greaseproof paper. Additionally, being kind to the mail worker never hurts.
10
- Replace cocoa powder with special cocoa baking pieces or chopped fresh
chocolate
The
average cocoa powder is OK, but nothing exceptional. They are designed never to
melt completely, depriving you of the desired wonderfully mushy feel. The use
of chopped chocolate or sizable cocoa pieces is a simple enhancement. Both turn
your cookies from excellent to great by forming substantial areas of chocolate
sauce.
Final
take
It's
all about chilling the dough out and following the instructions. Please
remember that every oven is unique, so you want to ensure the crispiness you
want in your cookies. Some prefer a crunchy, and some want the mushy feel in
their mouth.
Just
remind all the ten tips to avoid any mess.
And
if your guests are just about to arrive, avoid the cooking or perhaps
searching gourmet cookies near me; instead, call Brady’s Bakery and get freshly
baked cookies delivered to your doorstep!


